Quick Start
I assume you have already read Hugo Getting Started , this can help you to get an overview of Hugo and understand this guide better.
Introduction
Dream is a Hugo theme. I build it for my blog .
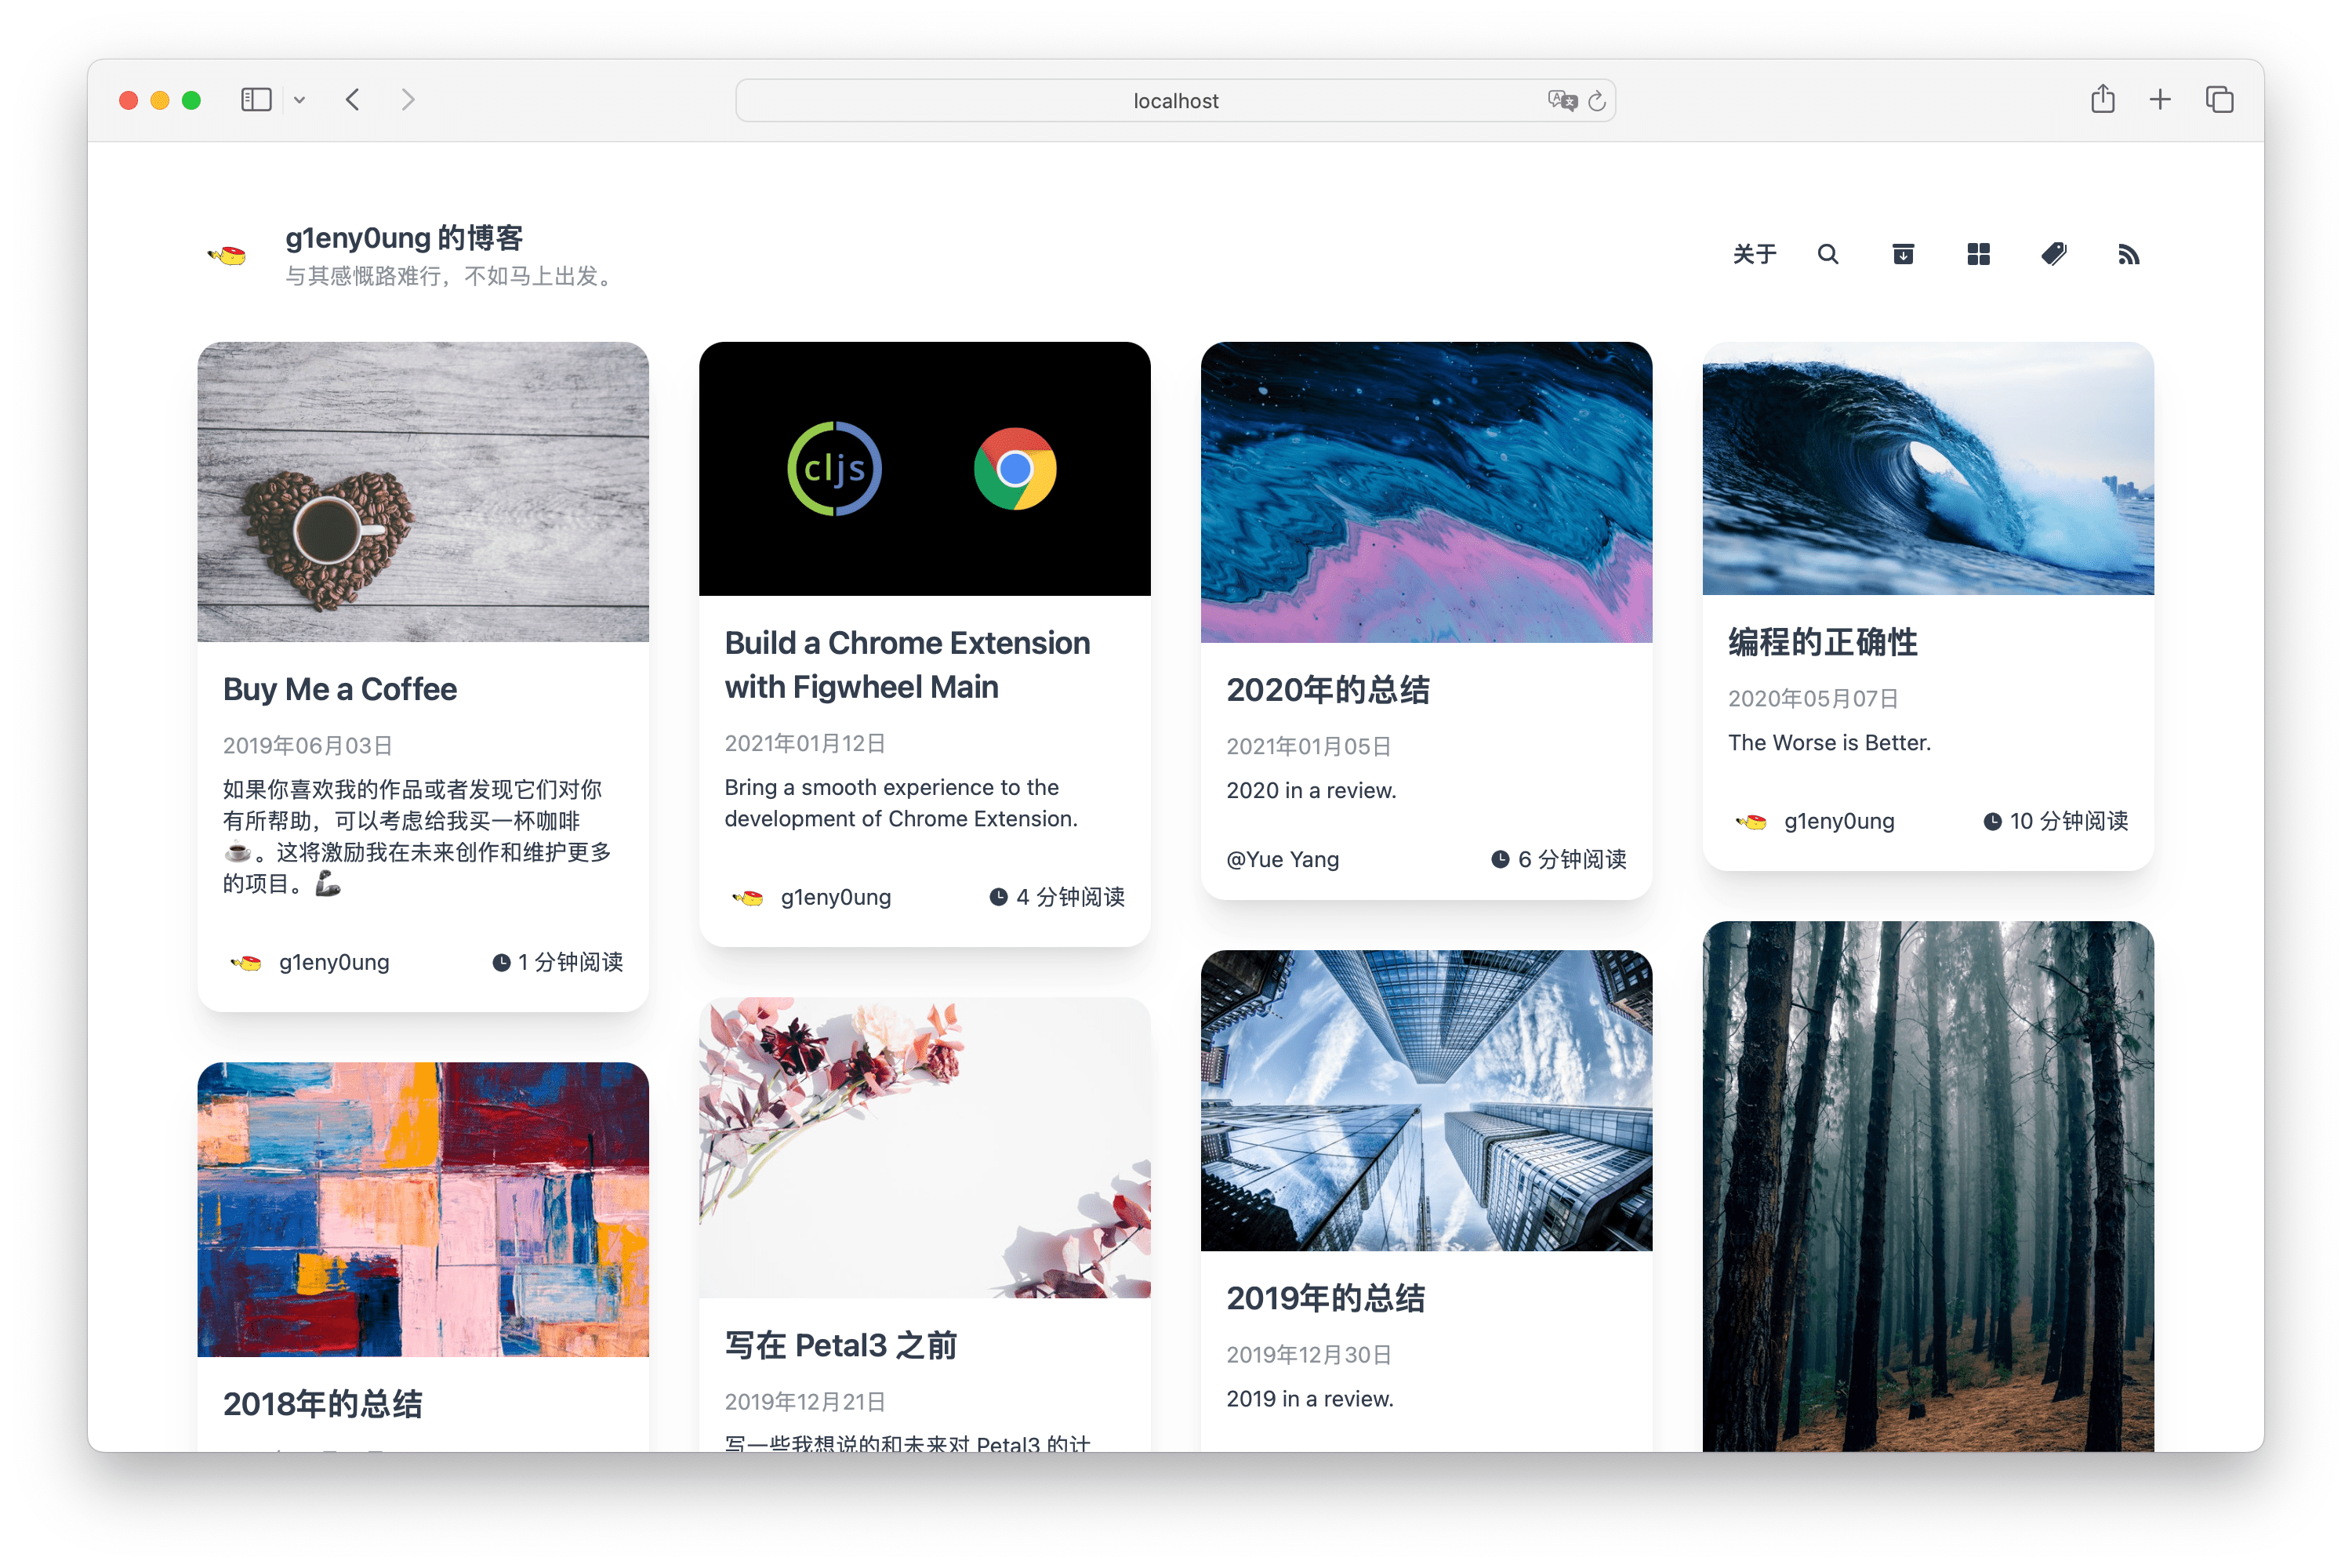
The main features are Masonry Layout Posts and Flippable About Page.
Dream also supports light and dark mode out of the box.
For people who prefer a simple and clean interface, Dream has a Zen mode. It is more concentrated on reading and writing.

Installation
Go into your site folder:
mkdir -p themes && cd themes
git clone https://github.com/g1eny0ung/hugo-theme-dream.git dream
Create configuration file
Create hugo.toml if it doesn’t already exist in your site folder, and then enable Dream by adding:
theme = "dream"If you are cloning the theme with another name, replace dream with the name you cloned.
For example, if you cloned the theme with the name my-dream, you should write theme = "my-dream".
You can download and use this default configuration file . It contains all params used in Dream.
Default or Zen Mode
Dream has two out-of-the-box modes: Default and Zen.
Default mode will display your posts in a masonry layout.
Zen mode will display your posts in a single column layout. It is more suitable for people who prefer a simple and clean interface. And it is more concentrated on reading and writing.
Here is a demo of the Zen mode: https://g1en-site-zen-mode-preview.netlify.app/ .
You can enable Zen mode by adding zenMode = true to the configuration file.
[params]
zenMode = true
View Zen Mode for more details.
Set language for your site
Open hugo.toml and write:
defaultContentLanguage = "en"View i18n for supported languages and more details.
Website Analytics
Dream supports Google Analytics for website analytics.
In hugo.toml, set:
[services]
[services.googleAnalytics]
ID = "..."You may have used googleAnalytics = "..." before. This is deprecated in Hugo 0.120.0.
Please upgrade to the new configuration. See https://gohugo.io/methods/site/googleanalytics/ for more details.
Social Comments
Dream can use Disqus for social comments.
In hugo.toml, set:
[services]
[services.disqus]
shortname = "..."You may have used disqusShortname = "..." before. This is deprecated in Hugo 0.120.0.
Please upgrade to the new configuration. See https://gohugo.io/methods/site/disqusshortname/ for more details.
Currently, Disqus does not support oklch colors which is used in Dream. We need to make an extra hack to make it work. See Compatible with oklch colors for more details.
For more social comment systems, view Social Comments.
Introduce Yourself
Dream provides a flippable about page to introduce yourself. Type the command below in your terminal to create the first section about you:
hugo new about/me.mdWrite something about you:
---
title: About Me
---

Hi, my name is Yue Yang.

This is my blog.
Then create an index.md in the content/about folder and put below contents into it:
---
headless: true
---
You will then see About in the top right navigation bar. Click it to display your about page.
Write your first article
All of your posts must be in the content/posts folder.
You can generate it with:
hugo new posts/article-title.mdThe default content of article-title.md is:
---
title: {{ replace .TranslationBaseName "-" " " | title }}
date: {{ .Date }}
lastmod: {{ .Date }}
author: Author Name
# avatar: /img/author.jpg
# authorlink: https://author.site
cover: /img/cover.jpg
# images:
#   - /img/cover.jpg
categories:
  - category1
tags:
  - tag1
  - tag2
# nolastmod: true
draft: true
---

Cut out summary from your post content here.

<!--more-->

The remaining content of your post.
This is the default template of a post.
For a quick start, you can leave the default content as it is. Only remove draft: true to publish your post.
To preview your post, you can start the Hugo server:
hugo server -DThe -D parameter indicates that drafts are included in the preview.
What’s next?
The left sidebar contains more detailed configurations and features.
Wish you a happy journey with 🌱 Dream!